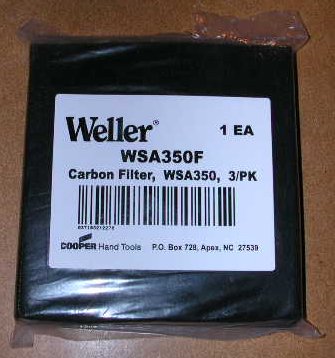
Figure 1
Filter
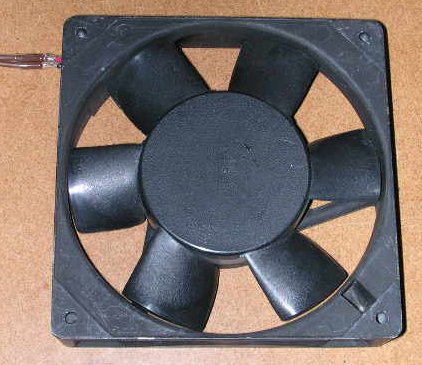
Figure 2
Fan
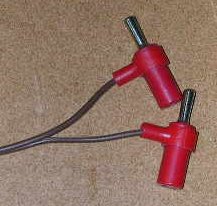
Figure 3
Connectors

Figure 4
Wire Ties
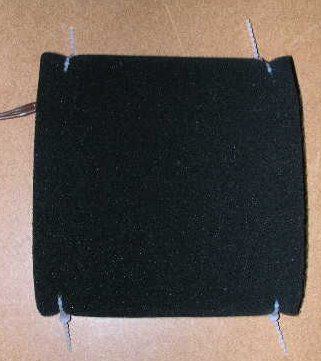
Figure 5
Attached Filter

Figure 6
Wire Stand
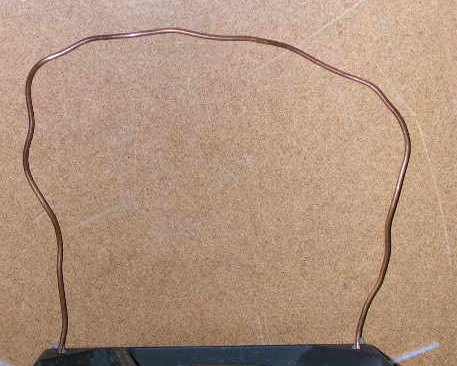
Figure 7
Wire Stand Attached
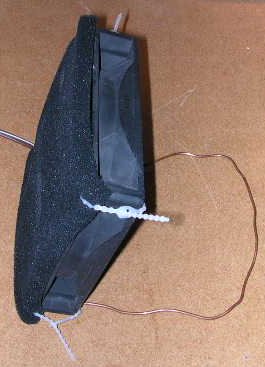
Figure 8
Completed Stand
Filter
Fan
Connectors
Wire Ties
Attached Filter
Wire Stand
Wire Stand Attached
Completed Stand