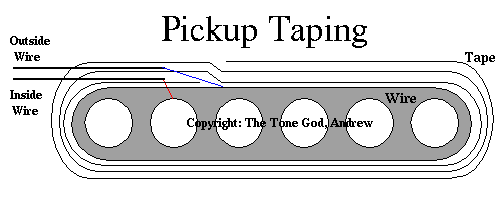
Figure 1
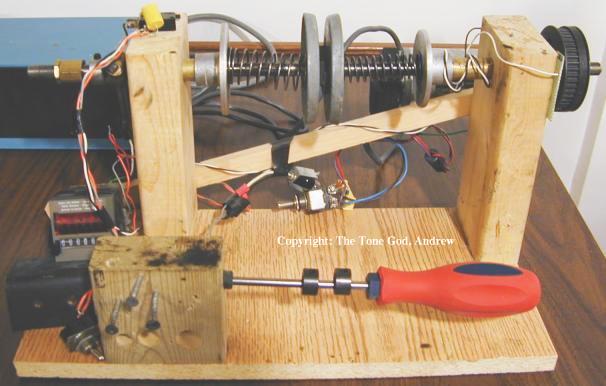
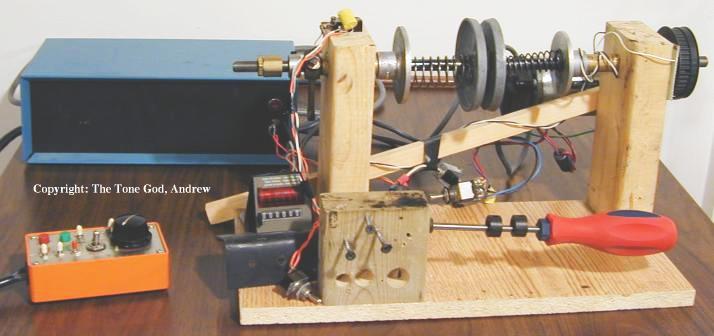
Figure 2
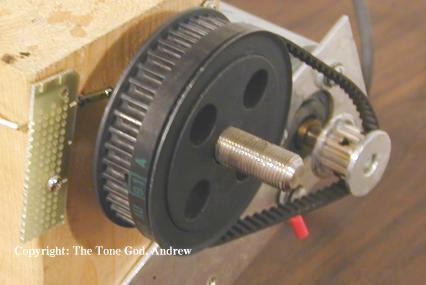
Figure 3
This is the drive system for the winder (Figure 3). The motor drives a wheel mounted to the winder's shaft via a belt. Behind the wheel mounted to the wood is the counter sensor. More on that later.
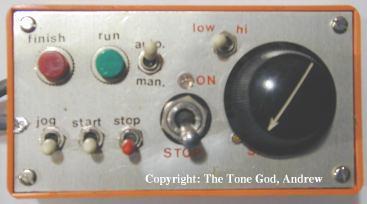
Figure 4
The control panel (Figure 4) allows me to control the speed of the winder, use the auto-stop or manual (no auto-stop) mode, and other functions. I usually keep the control one hand while the other hand guides the wire. If something bad happens I can stop it quickly.

Figure 5
One method to perform the rotation counting is to use a lever switch (Figure 5). On the winder shaft is an arm that swings around hitting the switch upon the completion of a full rotation. This is fine for slow low count operations but the limitations of this system show themselves very quickly.
Figure 6
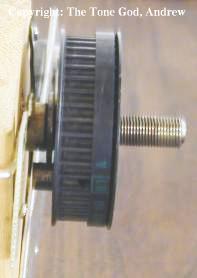
Figure 7
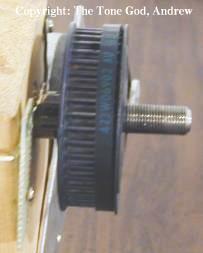
Figure 8
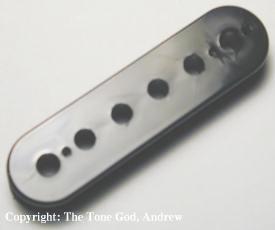
Figure 9
Figure 10
Figure 11
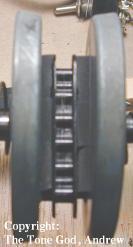
Figure 12

Figure 13
Figure 14